IPKISS sample project
The IPKISS sample project contains a series of examples, and a demonstration PDK. In several places in the documentation, we refer to this samples folder.
The samples folder is located in your home folder under:
Windows:
%USERPROFILE%\luceda\samples\ipkiss390,Linux:
~/luceda/samples/ipkiss390.
Where you need to replace the ipkiss390 in the path with the actual version you’re using.
To open this project in PyCharm, you’ll need to open the folder first, and then set up the Python interpreter, as explained below.
First, start with :
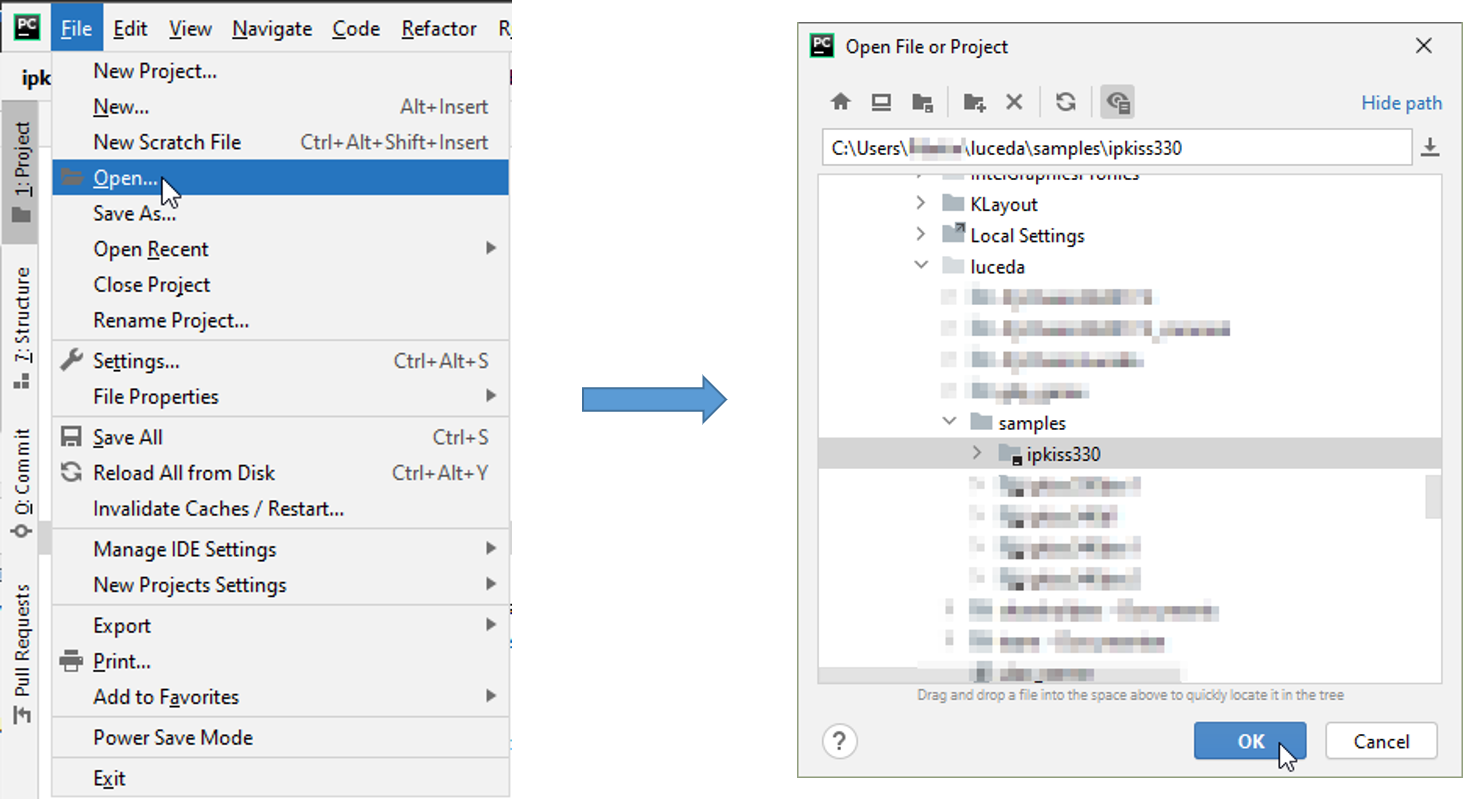
Launch samples in PyCharm from the Luceda Control Center.
After loading, you will see the following project structure in the PyCharm project navigator:
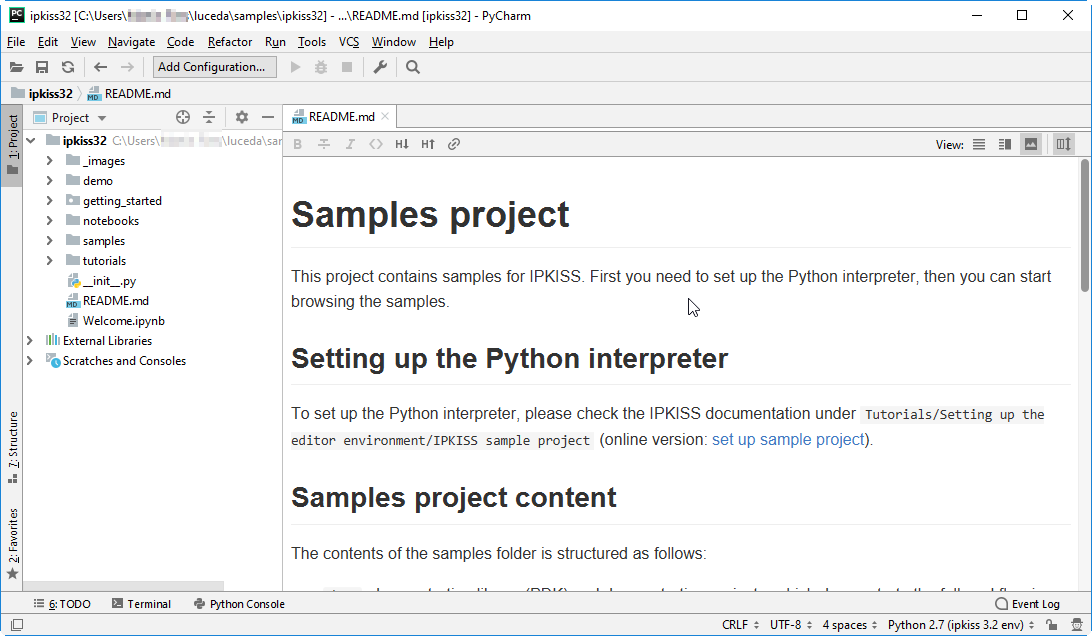
The sample IPKISS design project.
Setting up the interpreter
Before we can run any Python scripts, you need to tell the code editor where the IPKISS Python interpreter is located.
In the PyCharm menu bar, select
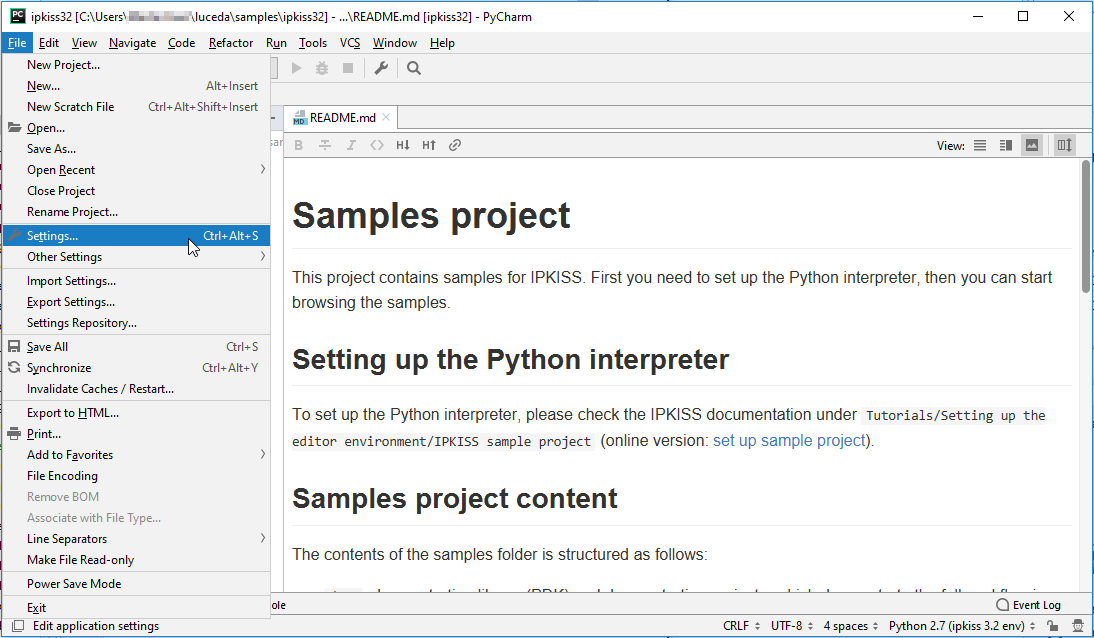
Select Setting up the Python interpreter: .
Then in the Settings dialog, select tab. Then, select the gear next to the interpreter list; and then click .
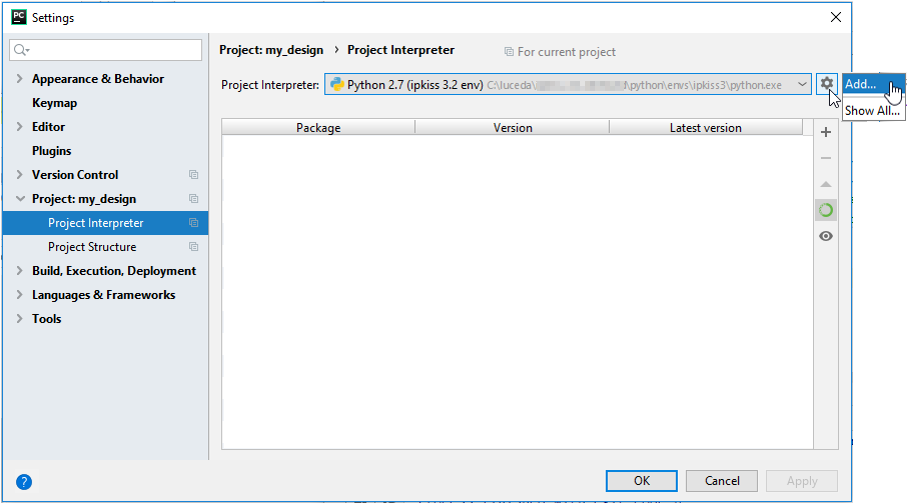
Under ‘Project Interpreter’, click .
In Add Local Python Interpreter dialog, under Conda Environment section, select , modify the Interpreter path to: <path_to_IPKISS_installation>\python\envs\ipkiss3\python.exe.
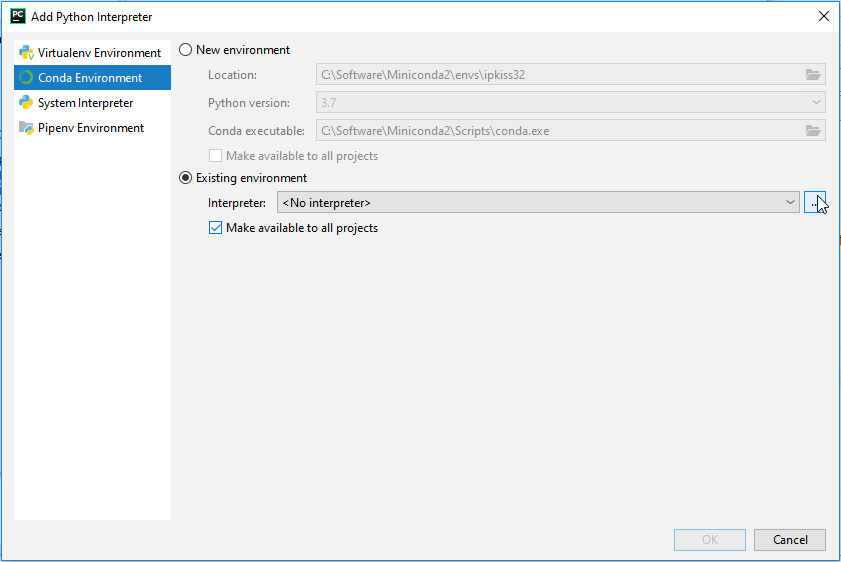
Select an existing conda environment by clicking the ‘…’.
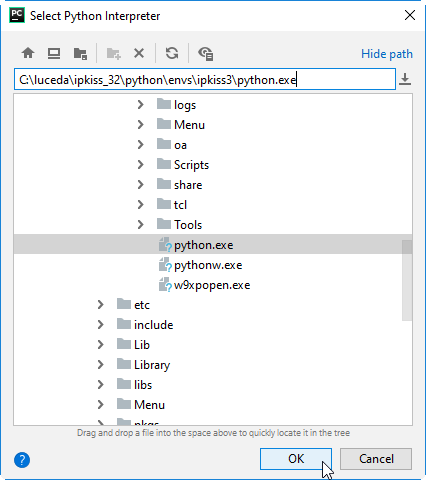
Choose Python interpreter. Screenshot shows default install location (ipkiss 3.2).
Once the interpreter is chosen, you can verify the installed packages. It should contain IPKISS.
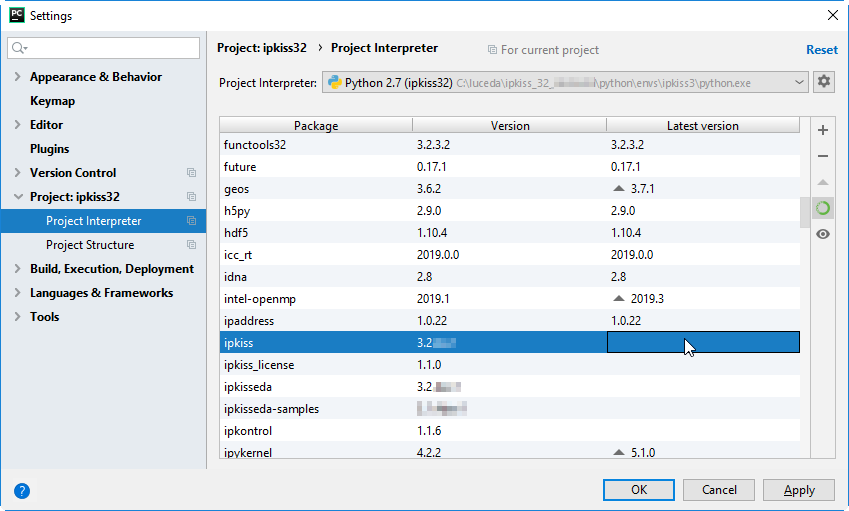
Check whether the interpreter contains ipkiss.
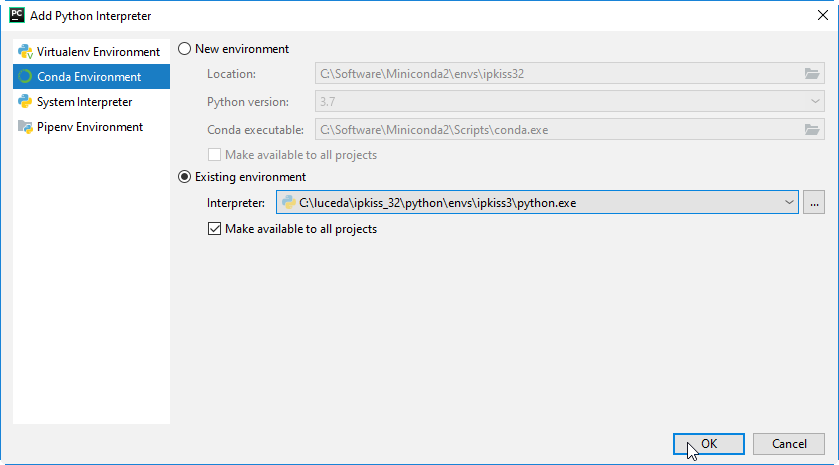
Once the interpreter is chosen, choose Make available to all projects. Then click .
Let’s now run a script to test if all settings are correct. To do so, navigate to a samples (in this case, we take a sample from the tutorial on building circuit models), then right click, and select Run ….
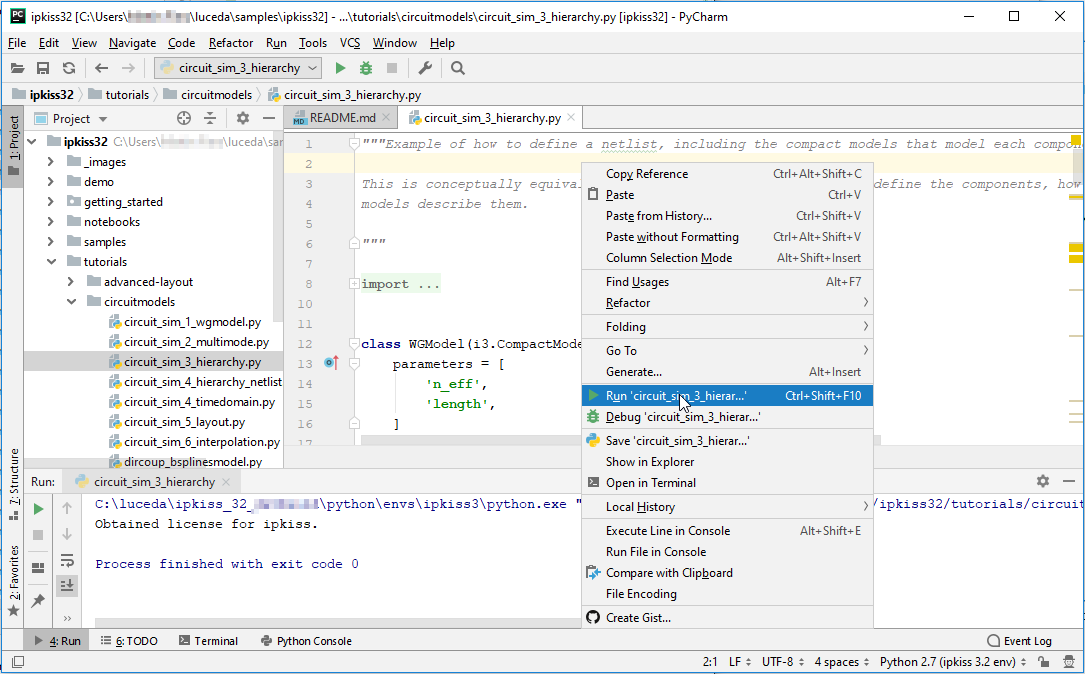
Run a first IPKISS script.
After running, you’ll see the simulation result of a MZI (Mach-Zehnder Interferometer).
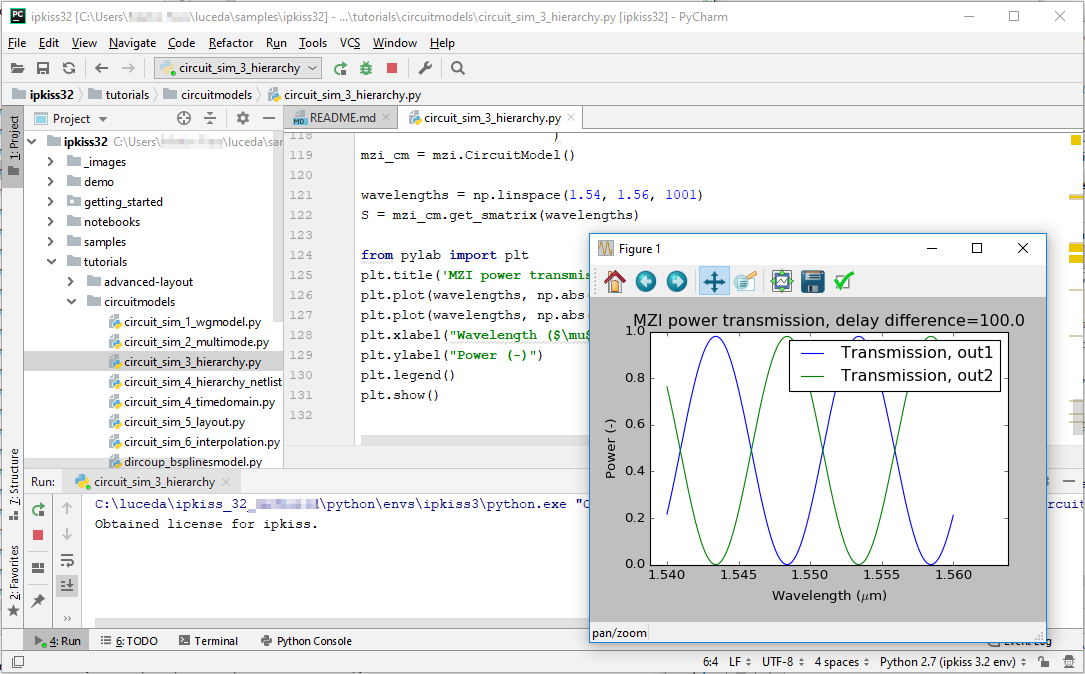
Result of running the script.