Create a new IPKISS design project
This short tutorial will teach you how to set up a project with PyCharm and gives some suggestions on how to organize it. These suggestions aim to make the design team work together effectively by using a consistent folder structure, making it easy to share components, designs and algorithms. In the end you will have a clean environment to work in that can serve as a good starting point for your own projects.
Configuring PyCharm
PyCharm has a built-in project manager that we can use to create IPKISS design projects. If this is the first time opening PyCharm, you will be greeted by this window:
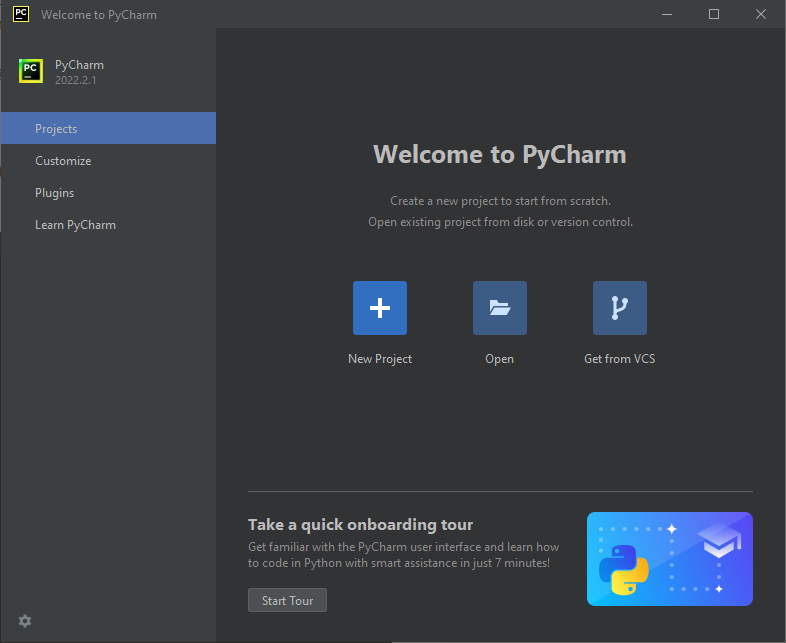
This window is shown when opening PyCharm for the first time. Select ‘New project’.
Alternatively, if you are in the main PyCharm window, select :
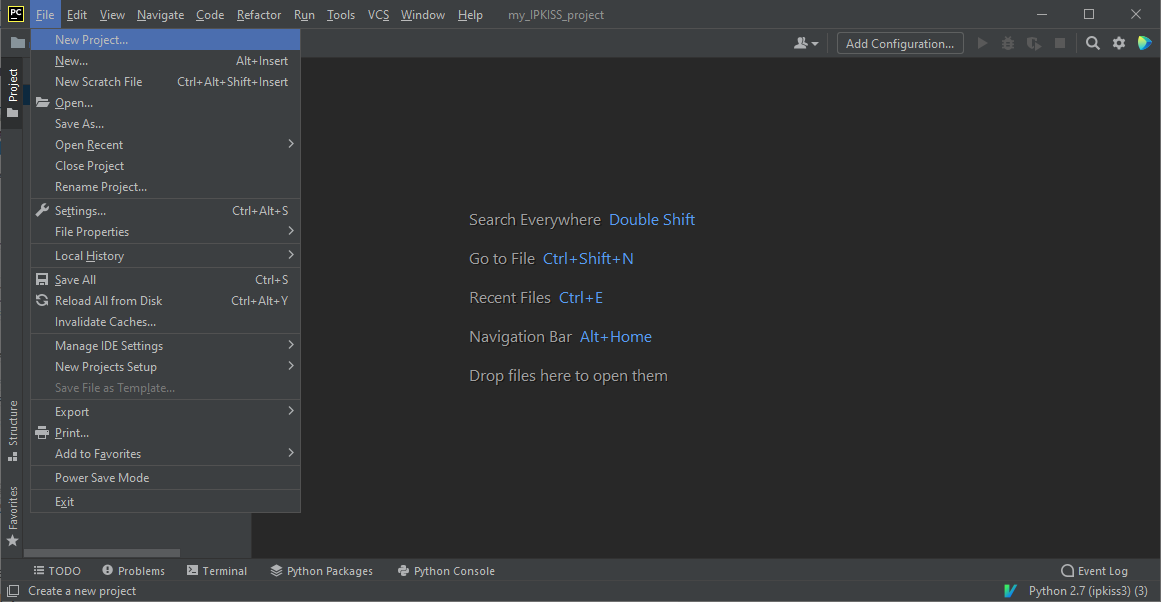
Create a new project using .
In the “New Project window”, choose a new folder for your design and check “Previously configured interpreter”:
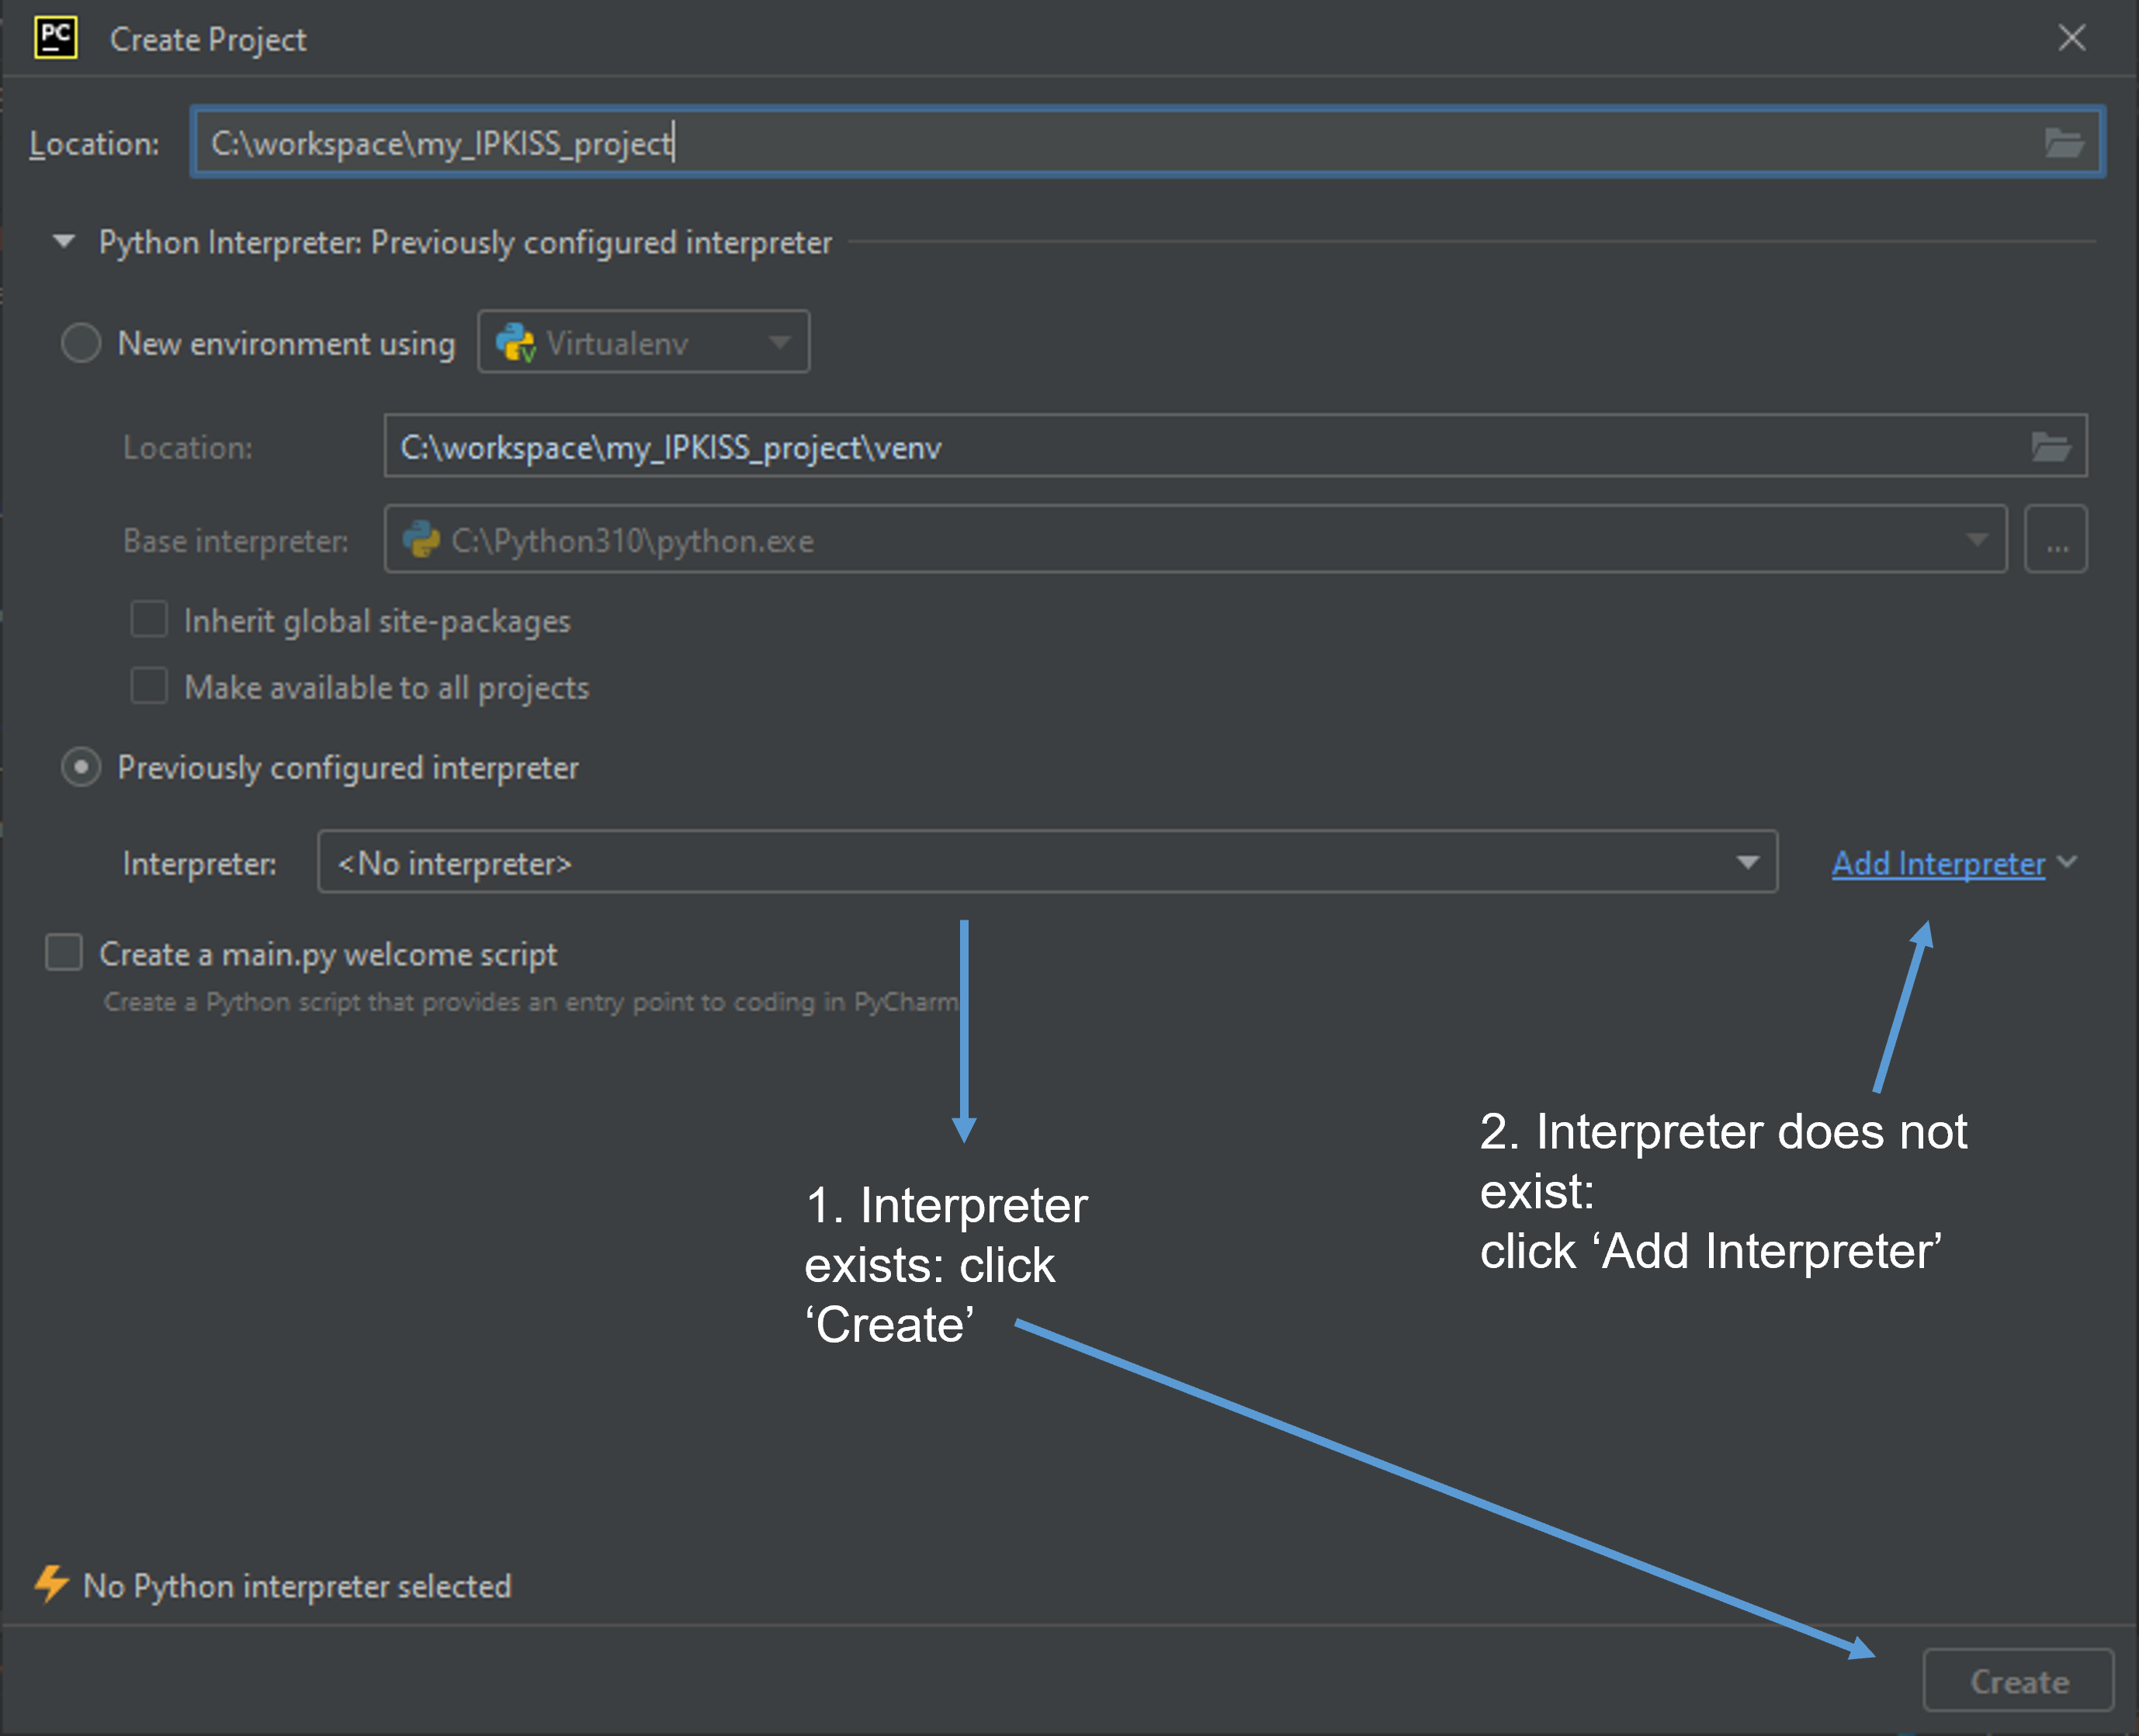
Creating a new project and selecting an existing Python interpreter.
There are two situations now (also shown in the image above):
If you have already set up an IPKISS Python interpreter before, you may find it in the list of interpreters. In that case, you can proceed to the section below on adding a PDK to the project.
The IPKISS interpreter is not shown in the list of existing interpreters. In that case, click and follow the instructions below.
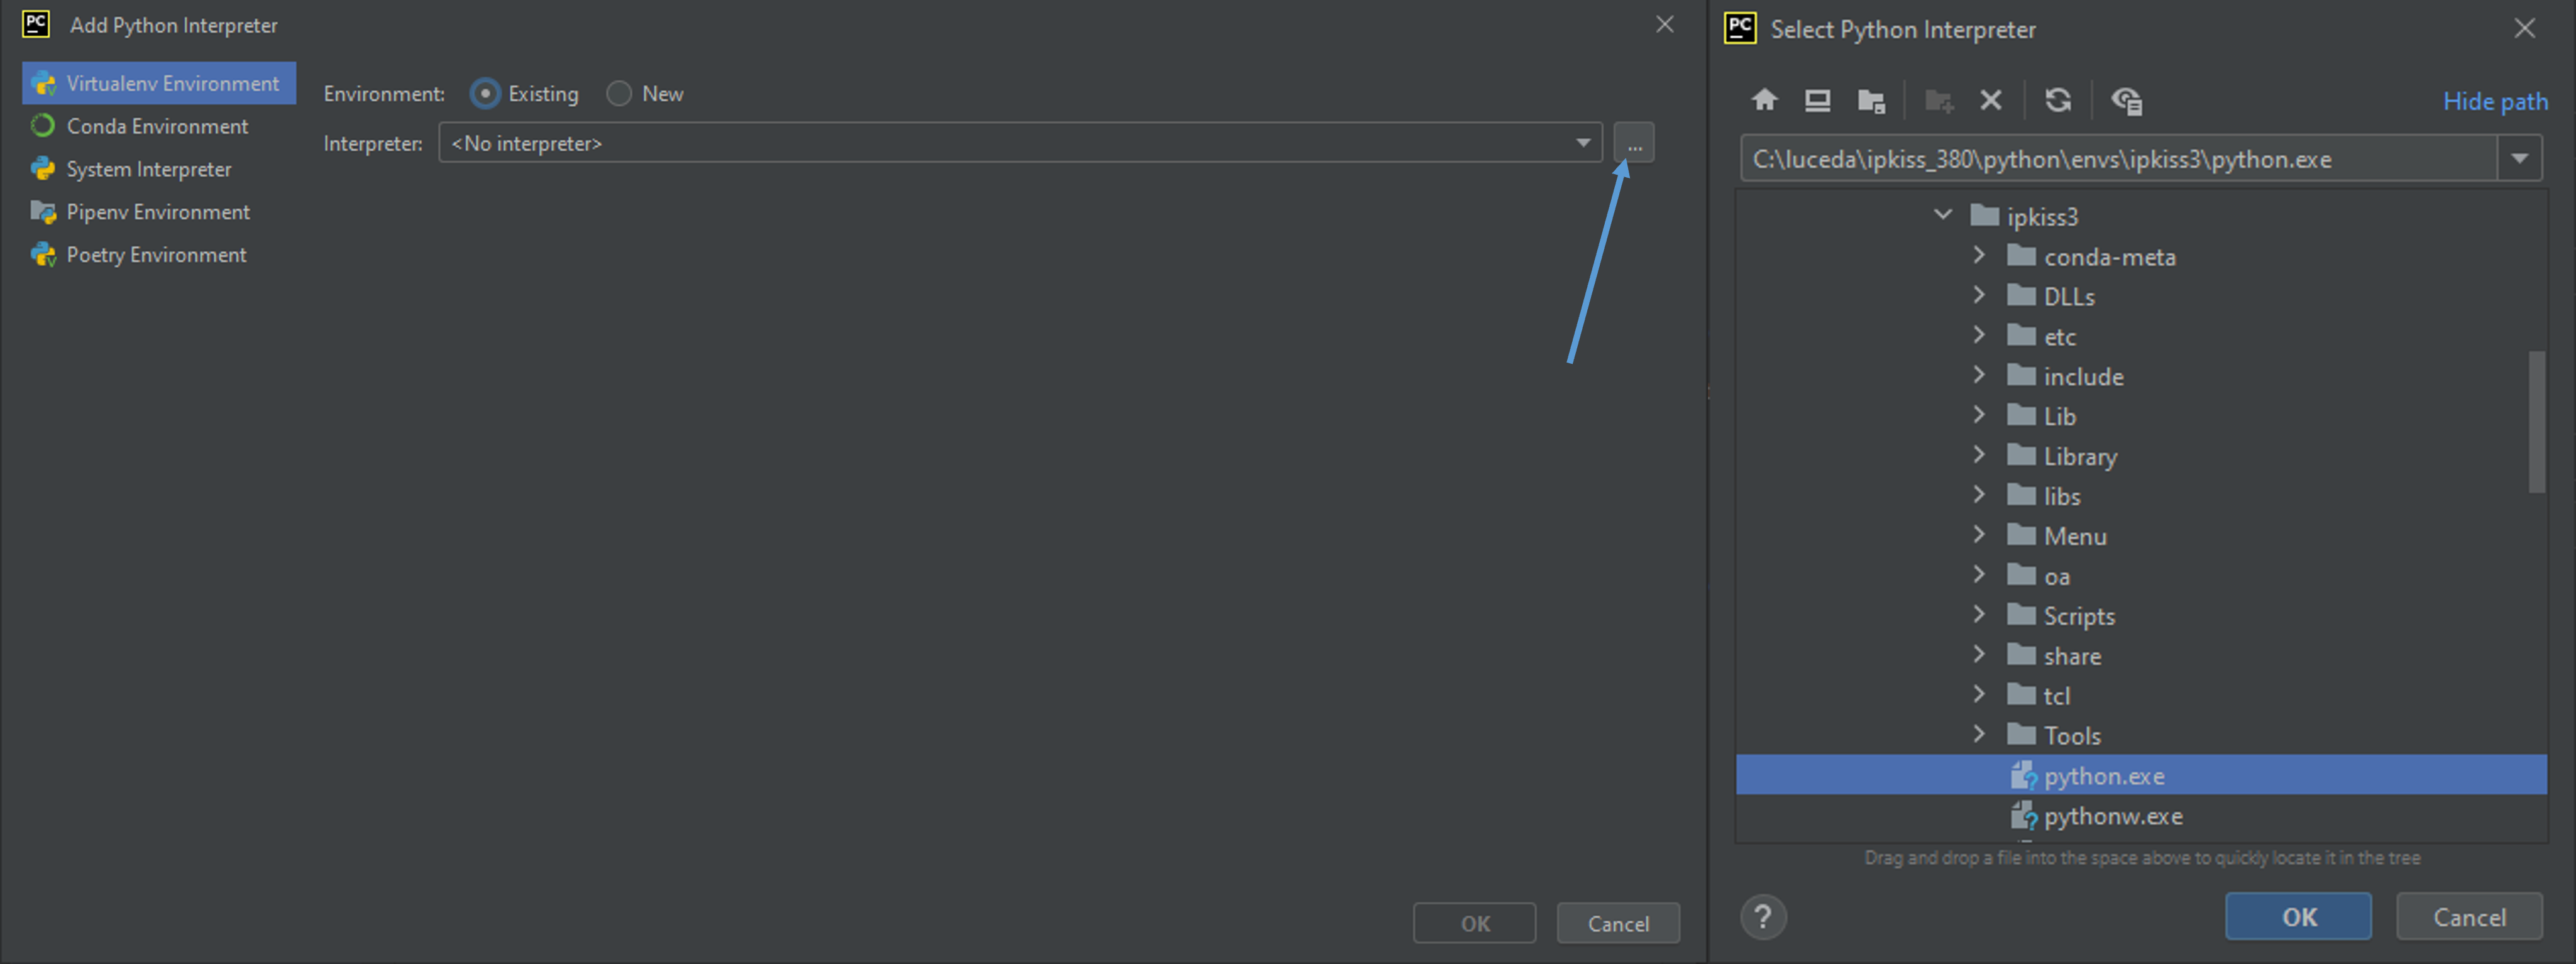
In the ‘add Python interpreter’ page, select and click “…” (top right).
After the main PyCharm window opens, let’s add a PDK to the project.
Note
You can also open an existing folder or project (). When a folder is first opened,
an .idea folder is created which stores project settings. If you open the same folder at a later moment,
the project settings are remembered.
Adding a PDK
We illustrate the process using sifab, a sample PDK included with Luceda Academy, but the principle is the same for all PDKs supported by Luceda. First, copy-paste the PDK that you received in a new folder named ‘pdks’.
Add the sifab PDK to your project.
Now we have to edit the PYTHONPATH to let Python know where to look for the PDK. Go to . Navigate to the ipkiss folder inside the PDK and mark it as source. The folder should turn blue.
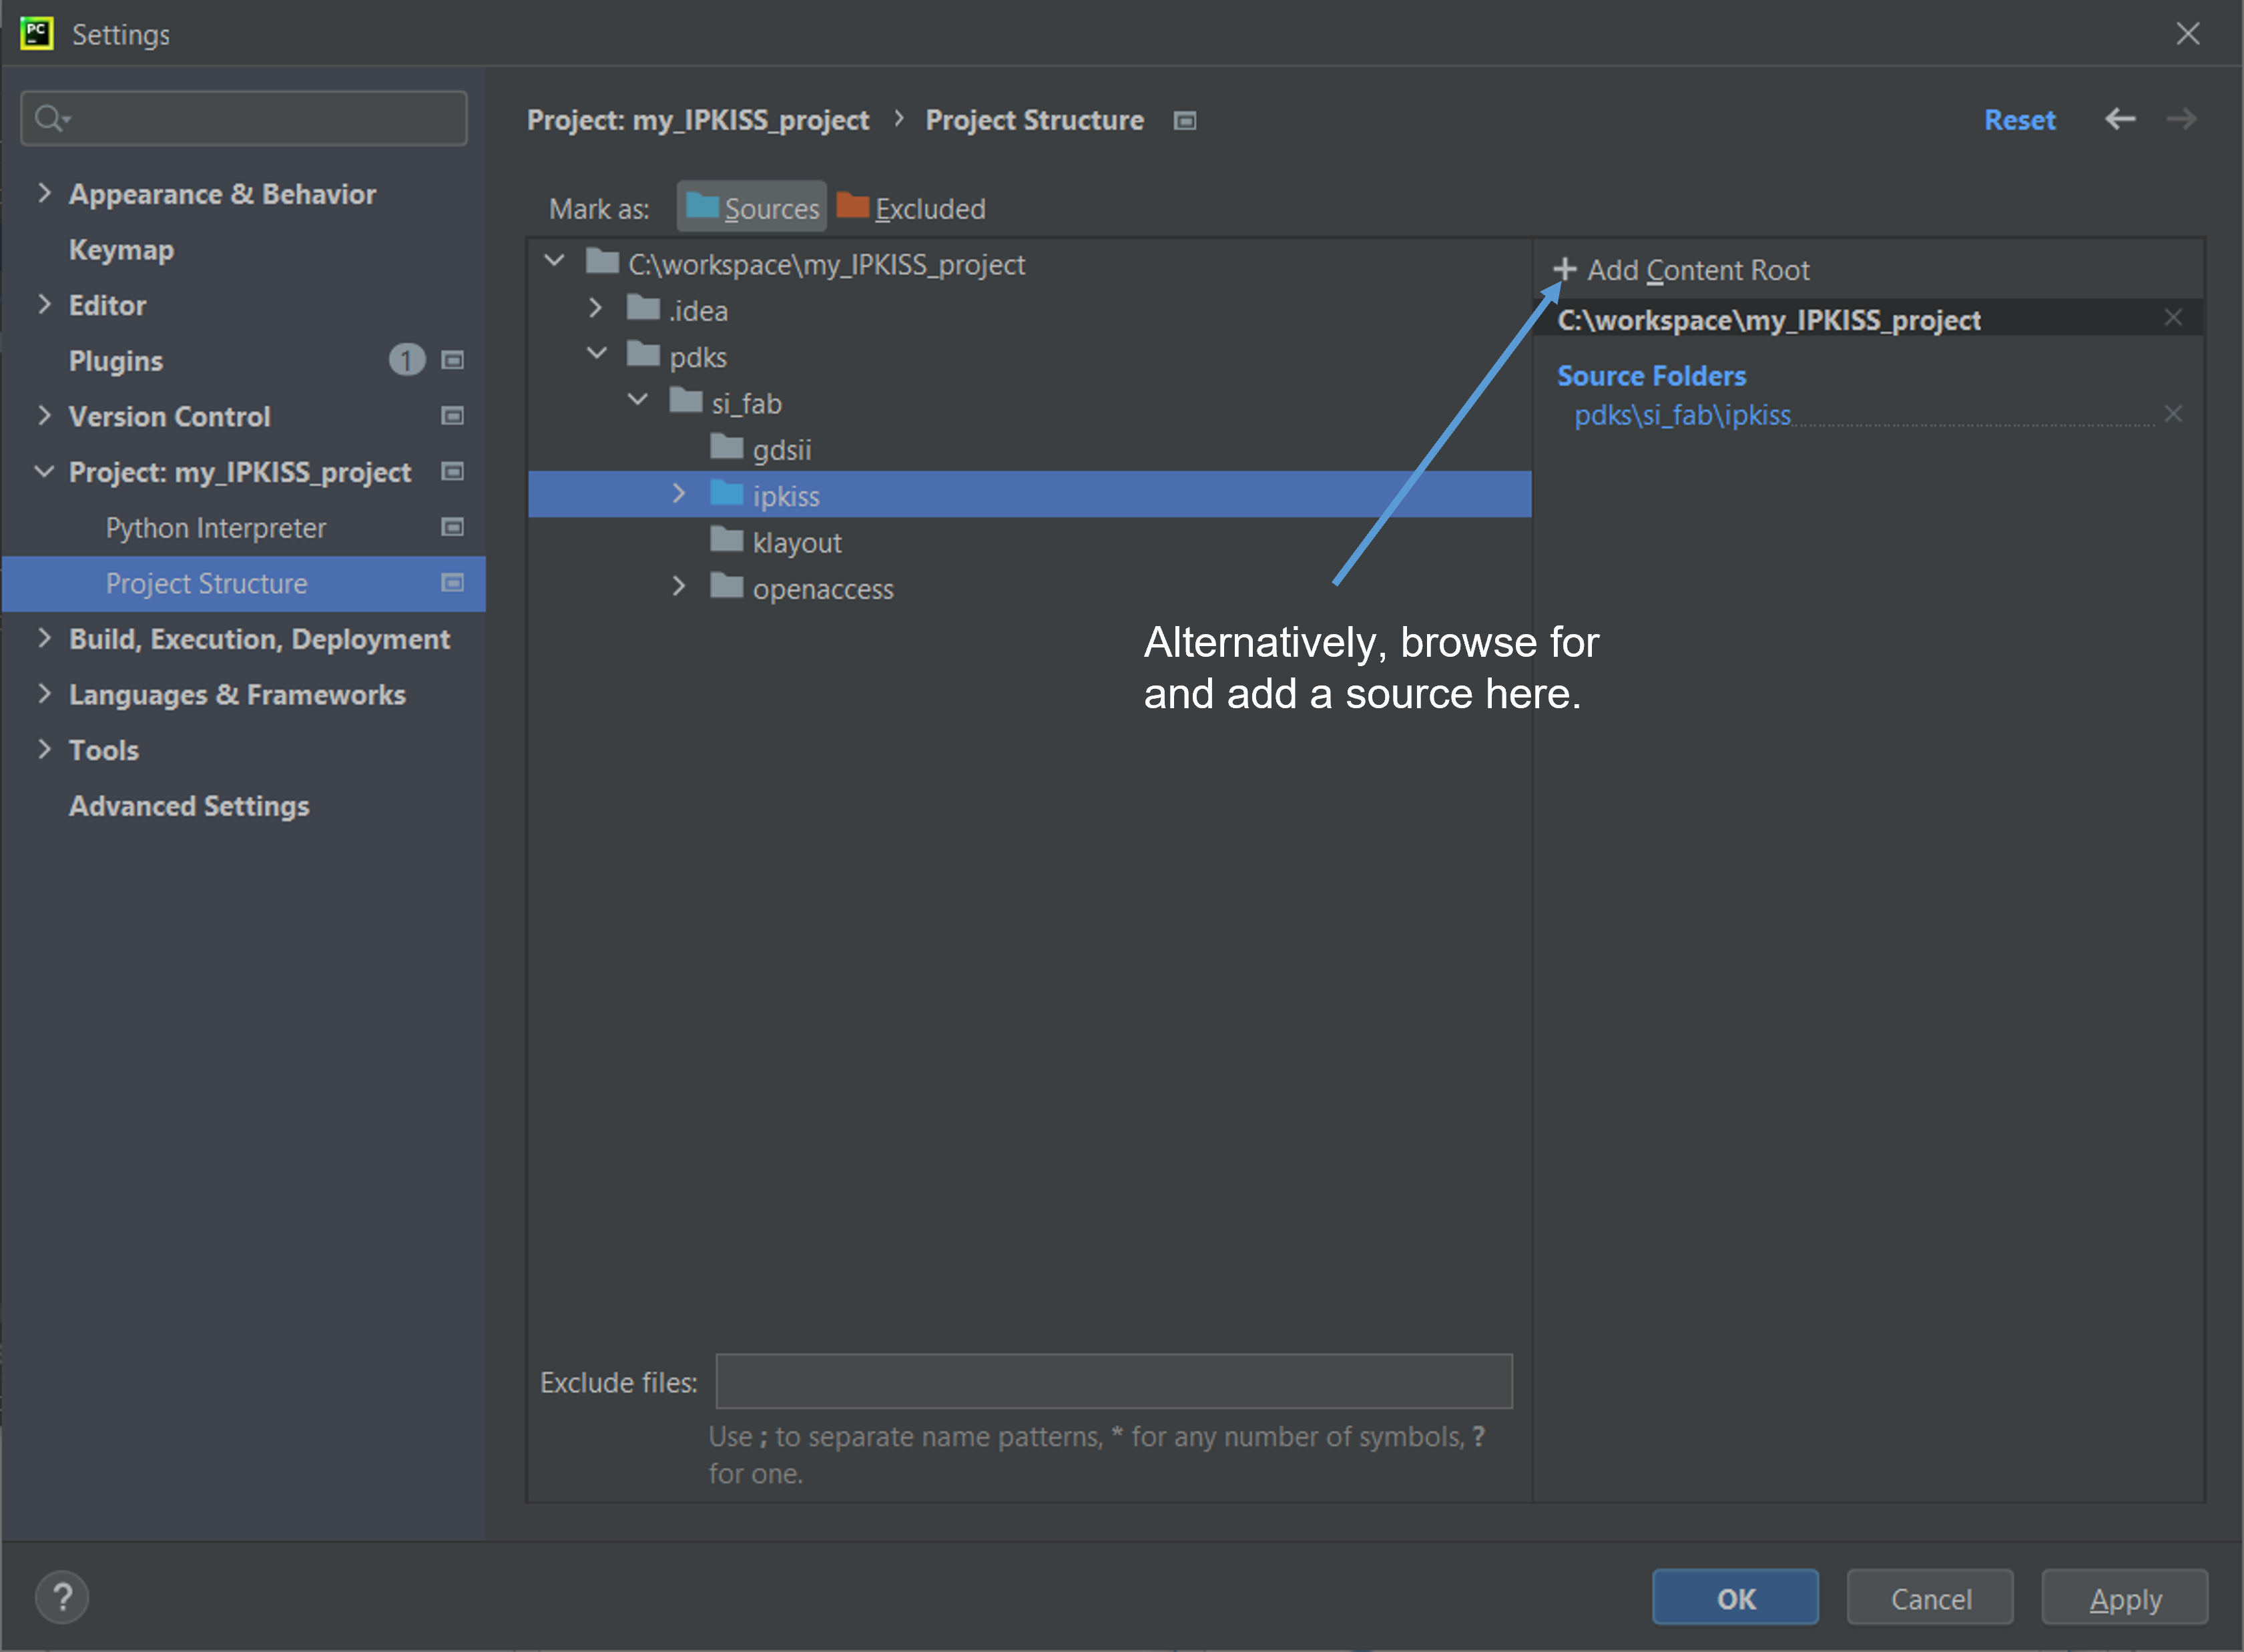
Add the sifab PDK to PYTHONPATH.
Note
The sifab pdk requires an extra dependency called additional utils that needs to be included in the PYTHONPATH as well. Click Add Content root (see figure above) and select the additional utils folder you find in Luceda Academy.
Finally, whenever you make a new design, import the PDK before you import IPKISS:
import si_fab.all as pdk
import ipkiss3.all as i3
Most PDKs have examples stored in them, so let’s run a sample to verify that everything is set up properly:
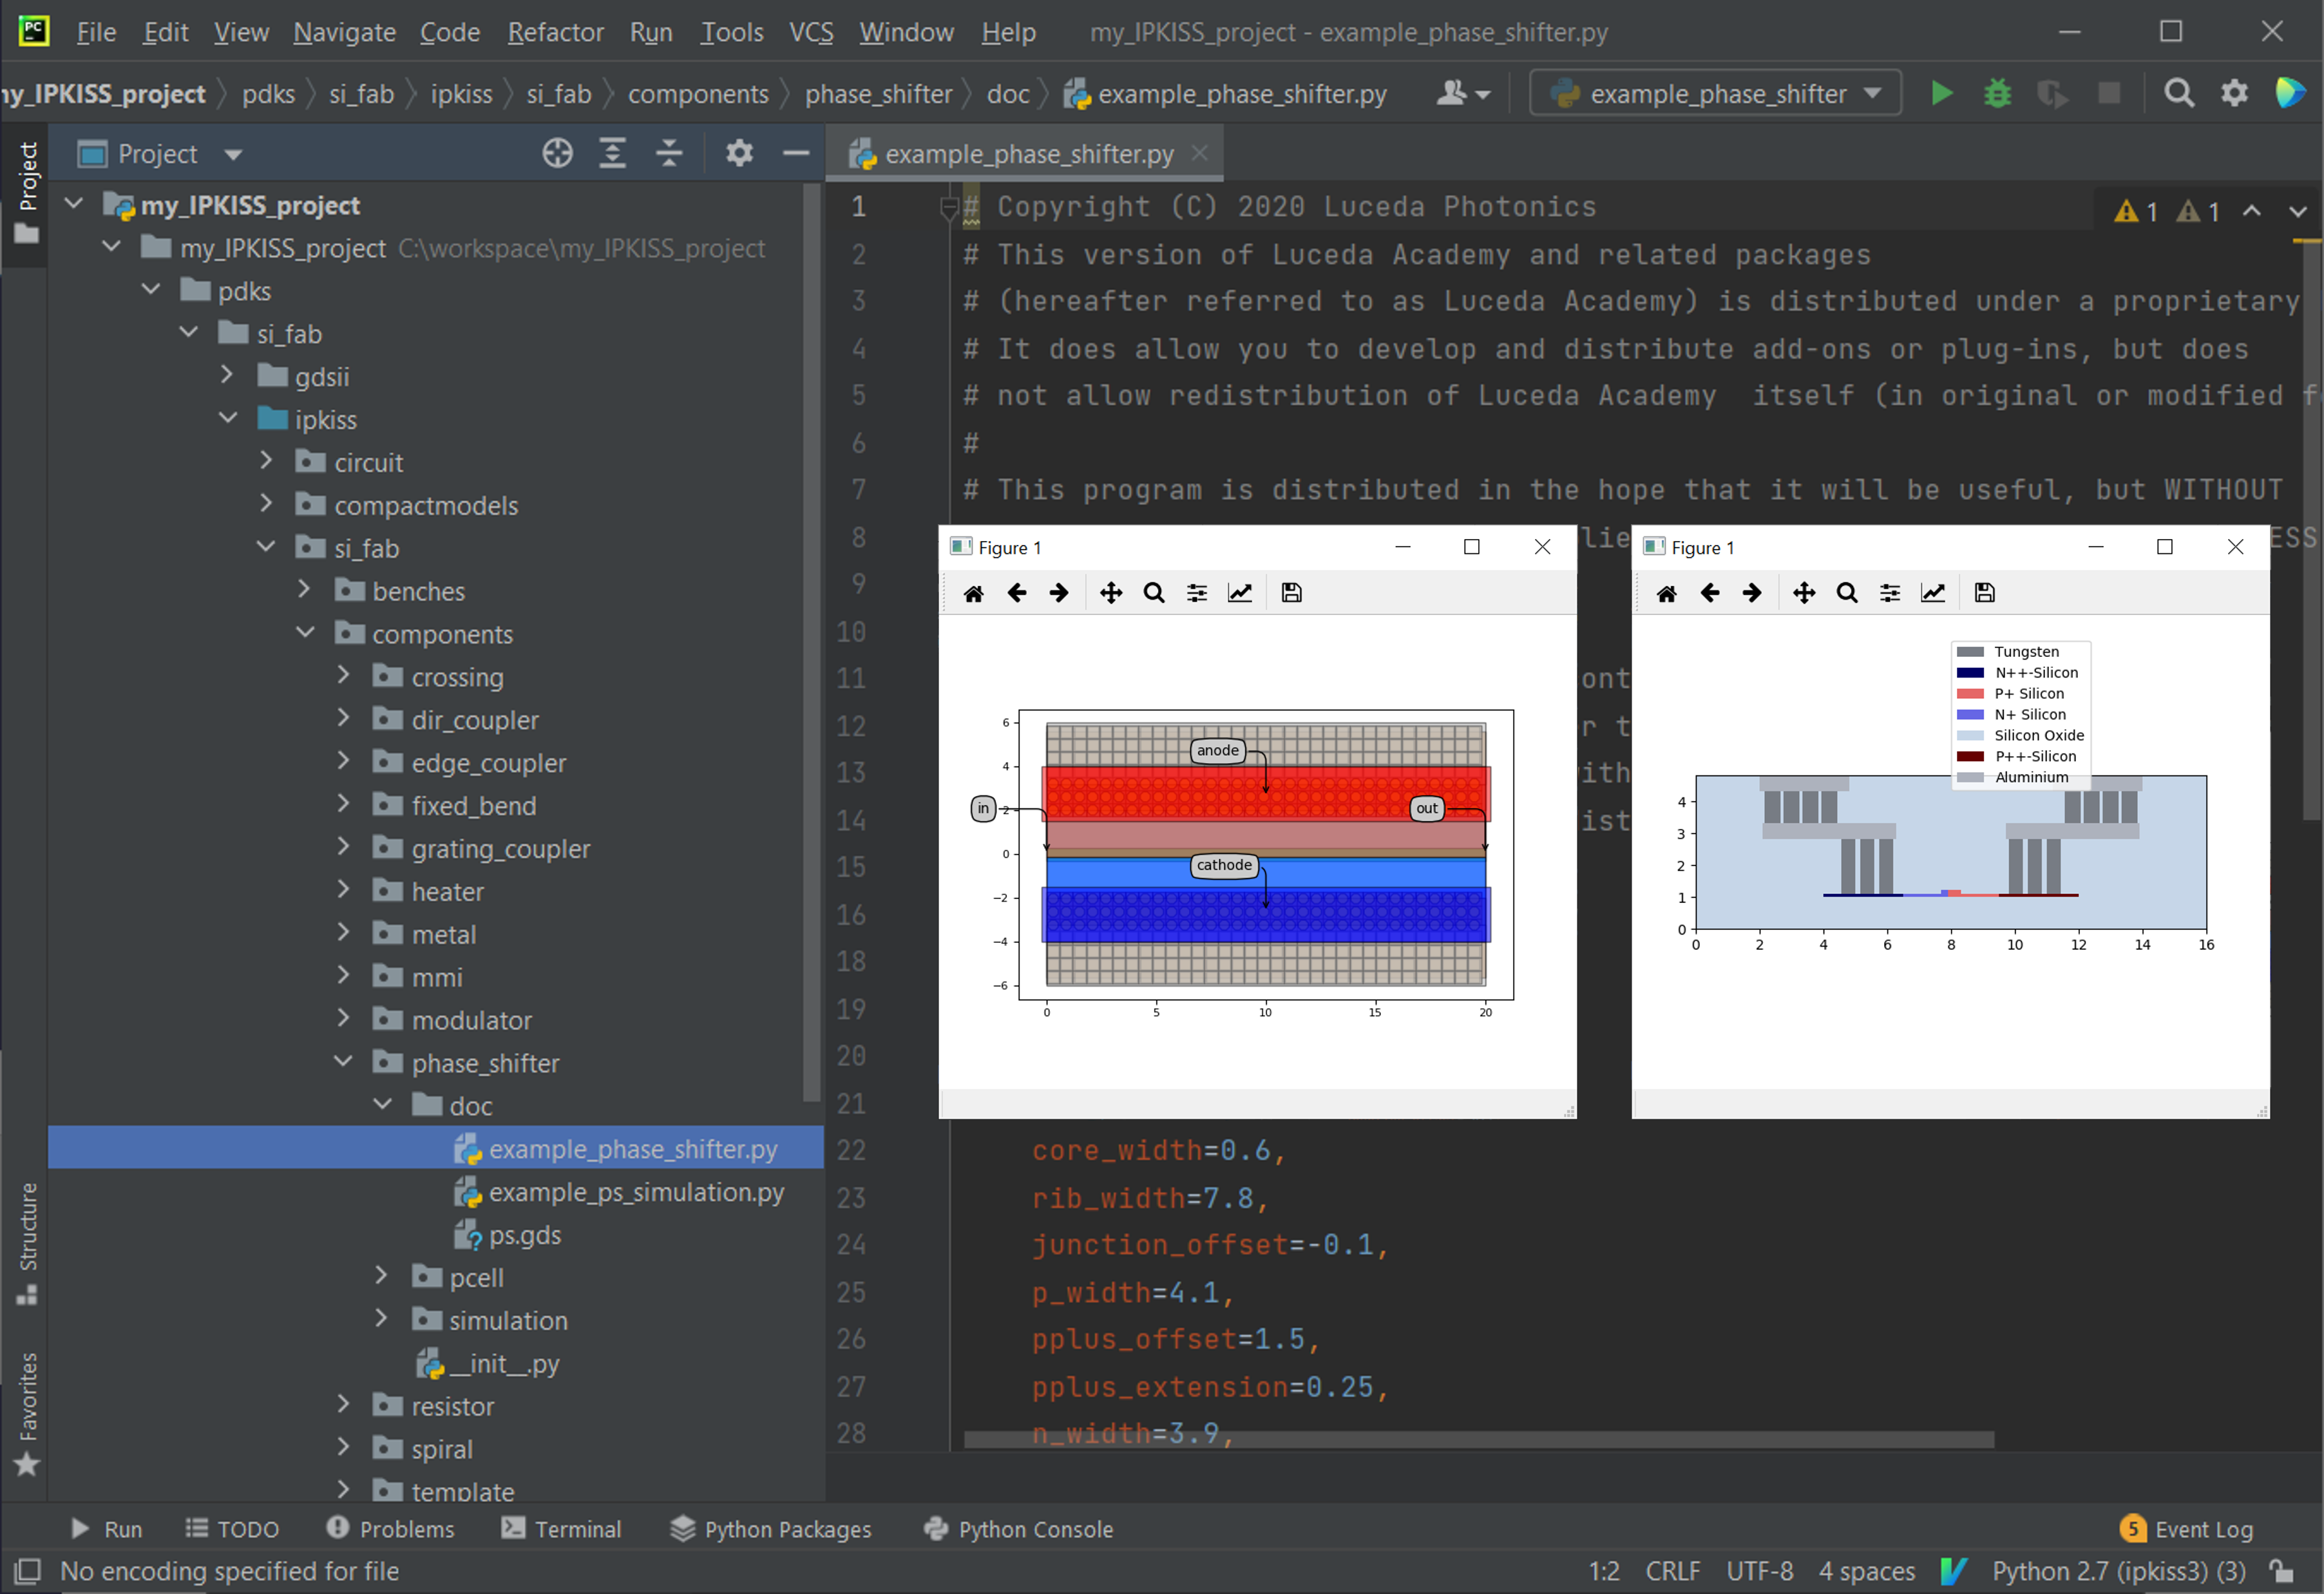
Choose a file from the samples and run it.
Note
You should never modify the files inside your PDK because it constitutes the foundation of all your designs. Tampering with it can result in unexpected behaviour or invalid designs. Instead, create a new library where you add new components, technology settings and so on.
Adding a user library
Libraries contain reusable components built on top of a PDK. You can easily import an existing library by following the same steps as adding a PDK: create a libraries folder in your project, paste in the library and include its ipkiss folder in your PYTHONPATH.
If instead you want to create new components and design a library from scratch, have a look at Develop and distribute your component library A convenient way to start is to copy pteam_library_si_fab from Luceda Academy and rename / refactor its contents to fit your needs.
You may also refer to Library Organization in the documentation to find more explanations on the library structure and its content.

Add a library to your project.
Creating a new design
At this point everything is set up and we are ready to create a design that can include both PDK and library components. The final result of the design process (tape-out) is a GDS file that the foundry uses to manufacture a photonic integrated circuit.
We will start by creating a designs folder and choosing a clear name for our tapeout that contains the date and the name of the PDK being used, e.g. 202208_tapeout_si_fab. Every design will be placed in here, each with its own regeneration file to generate a GDS. The tapeout folder then contains a merging script to combine all the designs into one. A basic example of such a file structure is shown below:
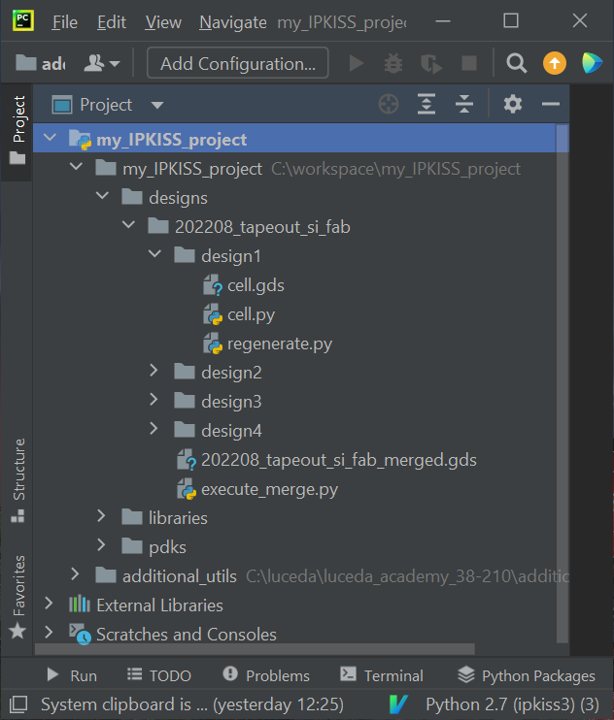
Typical folder structure to organize designs.
For a more in-depth tutorial on organizing designs, have a look at Several contributions to one tape-out run.